
By AJ | Category: Articles
Coastal style. Durable selections. A written finish schedule.
Wilmington, Leland, and Southport bring different settings and different priorities to a custom home. Yet one practical principle holds across coastal North Carolina: choose interior details with the local climate, the project budget, and the build sequence in mind.
Humidity, salt air, afternoon thunderstorms, and hurricane-season routines all shape how a home gets used. They also make careful selection and coordination matter. A written finish schedule protects both the budget and the look. Decisions made in a showroom without a plan can create extra cost, substitutions, and delays.
For a custom home builder coastal nc, interior selections mean more than choosing a cabinet color or countertop pattern. They connect design intent with real products, availability, installation requirements, and everyday care. Thoughtful planning brings Confidence, Clarity, and Consistency to those decisions, and helps the finished home feel personal and well considered.
Coastal conditions shape material choices.
Coastal conditions do not rule out natural wood, polished metal, or light-colored finishes. They do ask owners and builders to consider how each product responds to moisture, cleaning, and regular use.
The U.S. Environmental Protection Agency identifies kitchens as spaces that get wet through normal use. Its moisture-control guidance recommends moisture-tolerant materials in areas that routinely encounter water. The Architectural Woodwork Institute also notes that wood naturally changes dimension as humidity shifts. Those principles point to a balanced approach: select attractive materials, check manufacturer guidance, and plan for ventilation and maintenance.
A riverfront lot in Wilmington may invite a different palette and material conversation than a new-construction neighborhood in Leland. Older housing stock in Southport can bring its own context, including existing conditions and the character of the surrounding homes. These differences make a project-specific finish plan more useful than a one-size-fits-all “coastal” package.
A custom home builder wilmington nc, custom home builder leland nc, or custom home builder southport nc should help owners weigh the visual goal alongside the site, product specifications, and the way the household lives. Locally Operated knowledge helps make those conversations practical and grounded in place.
Decide long-lead items early.
Some selections affect more than appearance. Cabinet layouts, appliances, plumbing rough-ins, electrical connections, and countertop dimensions all influence one another. Resolve those relationships before trades need final information.
Cabinet lead times run longer than many owners expect. Start by confirming the layout, door style, finish, storage features, and hardware. Then verify availability and the manufacturer’s care requirements. Ask how the product handles humidity changes and what conditions it needs during delivery and installation. Wood can move with changing humidity; follow the product guidance for storage, acclimation, and indoor conditions.
Choose appliances early enough to confirm opening sizes, clearances, power requirements, and ventilation coordination. Identify plumbing fixtures and rough-in components before walls close. Confirm that the faucet, sink, and countertop work together. A beautiful fixture that arrives late or does not fit the planned connection can disrupt the sequence.
Order timing depends on the selected product and supplier. Confirm current lead times directly, record them, and revisit them as the project advances. This early coordination gives owners and trade partners a shared plan, and creates fewer surprises later.

Build the kitchen around use and care.
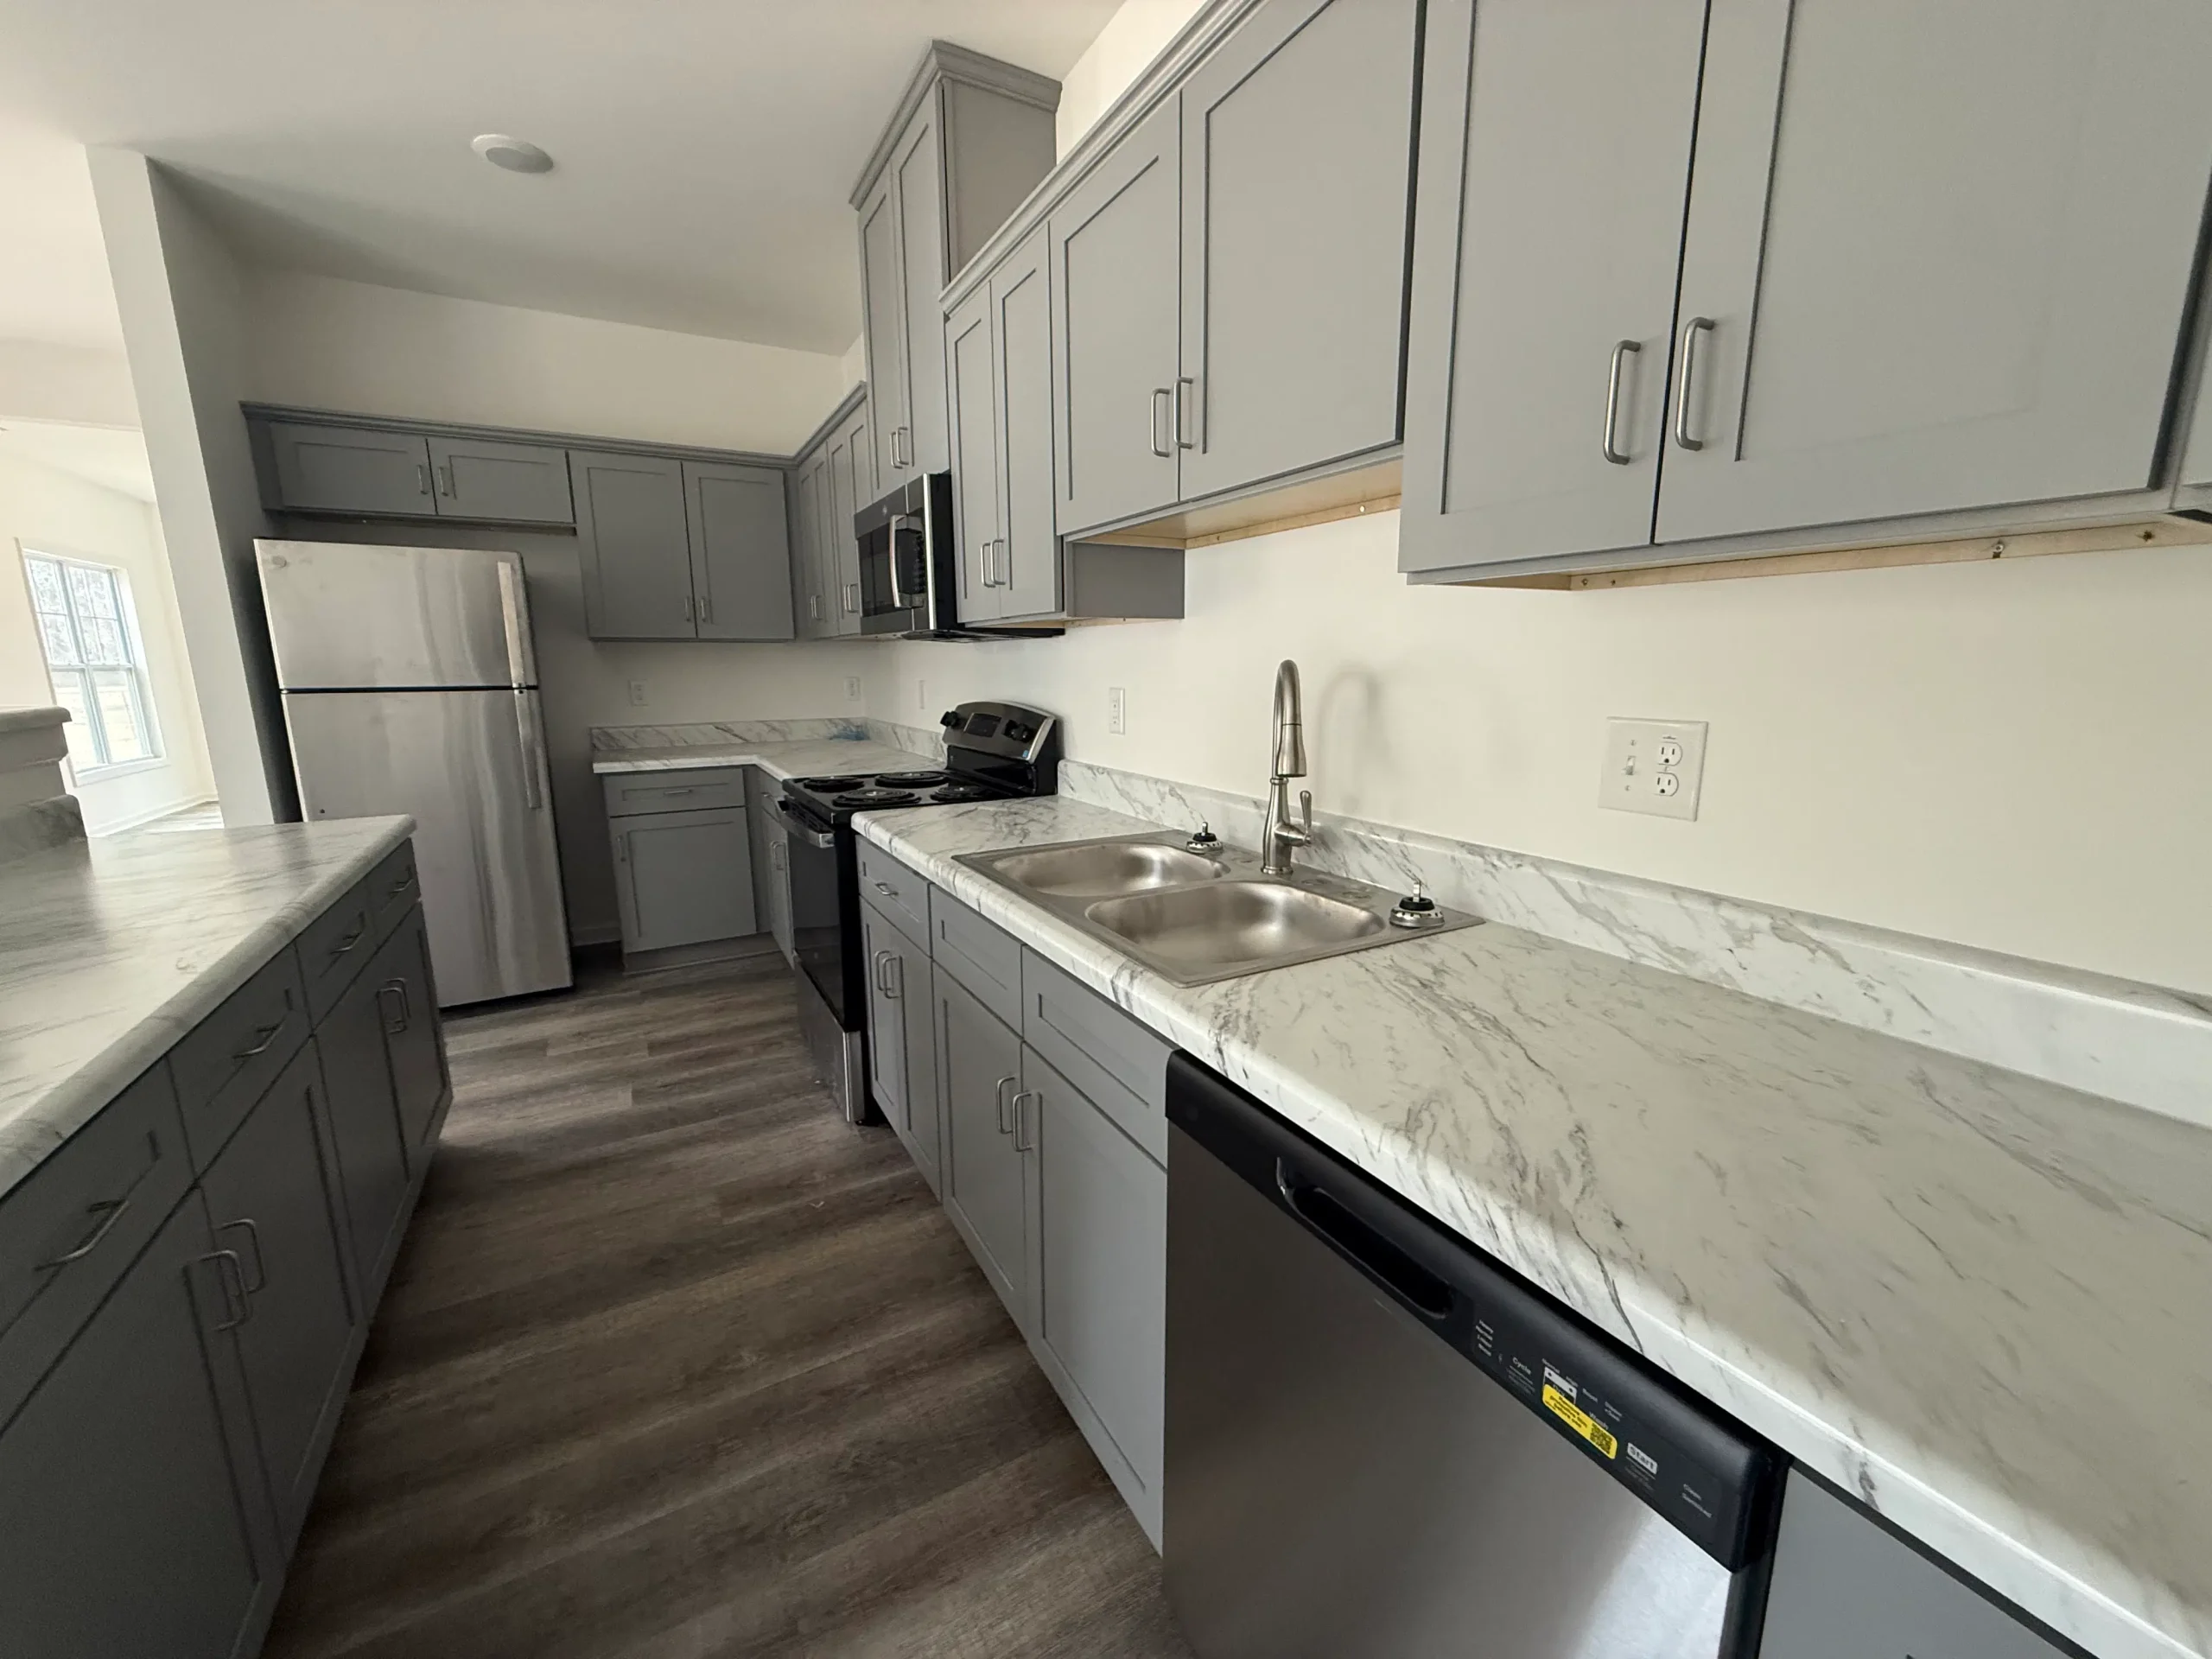
A coastal kitchen can feel elevated without relying on fragile or high-maintenance choices. Start with how the family cooks, gathers, cleans, and stores everyday items. Then select cabinetry, counters, fixtures, and lighting as a coordinated set.
For cabinetry, compare box construction, door material, finish type, edge treatment, hardware, and care instructions. Pay special attention to areas near sinks and dishwashers. Ask the supplier how the cabinet finish protects exposed edges and what cleaning products the manufacturer approves. Specify corrosion-resistant hardware and finishes suited to the home’s exposure, then follow the manufacturer’s maintenance guidance.
For countertops, compare the selected surface’s resistance to stains, heat, scratching, and household cleaners. Natural stone, engineered surfaces, and porcelain each bring different patterns and care needs. Request actual samples or view slabs where possible. Confirm edge profiles and backsplash details early enough to coordinate with cabinet dimensions and countertop templating.
Fixtures deserve the same scrutiny. Compare finish durability, cleaning instructions, replacement-part availability, and how the faucet pairs with the sink. A cohesive finish palette can connect cabinet pulls, plumbing fixtures, lighting, and appliances without asking every surface to match exactly.
Meticulous selection does not mean picking the most expensive option. It means understanding what each choice includes, what it requires, and how it fits the design. That kind of clarity helps the kitchen serve the family as beautifully as it looks.
Choose flooring and paint with sequencing in mind.
Flooring should suit daily traffic, sand, wet shoes, and the installation conditions in the home. Compare product-specific water resistance, surface texture, cleaning needs, and manufacturer requirements. Some products need a dry, prepared subfloor or moisture testing before installation. Confirm those requirements before the schedule reaches flooring.
Then coordinate flooring with cabinetry, transitions, door clearances, and adjacent rooms. A late flooring change can affect more than the color palette. It can prompt new material orders or adjustments at thresholds and built-ins.
Paint benefits from a different rhythm. Set the overall palette early, but review samples in the actual space before finalizing colors. Natural light, window orientation, cabinetry, and selected flooring all influence how a color reads. Record paint brand, product line, sheen, and color for each space. A paint name alone may not give the crew enough information to reproduce the intended finish.
Choose fixtures, flooring, and paint in an order that protects installation flow. Confirm each product’s lead time and requirements with its supplier. Clear sequencing helps keep the design connected and the construction team coordinated.
Put every choice in the finish schedule.
A finish schedule turns selections into project information that owners and trades can use. It should identify each product by room and location, with enough detail to distinguish the approved item from similar alternatives.
For each selection, record the manufacturer, product name or model, finish or color, size, quantity or coverage, supplier, allowance or budget category, and any relevant installation or care requirements. Add notes for approved alternates and delivery status. Keep reference photos and finish samples connected to the written record.
The schedule also gives the budget a practical framework. It shows what each allowance covers and flags when an owner chooses a different product or scope. Before a selection changes, confirm the cost impact, availability, and schedule effect. Then document the decision. This approach does not eliminate every change, but it makes the consequences visible before the team moves forward.

Veteran-Owned project management means disciplined coordination and clear documentation, not guesswork between a showroom decision and a construction detail. A shared written schedule helps owners, designers, suppliers, and trade partners stay aligned.
Walk through each selection milestone.
A disciplined walkthrough gives owners a chance to confirm decisions before they become harder or more costly to change. Use the actual plans, samples, and written schedule. Check the details in context.
- Design review: Confirm cabinet layout, appliance sizes, lighting locations, and plumbing fixture requirements.
- Finish review: Compare cabinetry, countertops, flooring, paint, and hardware together. Check samples under natural and planned lighting.
- Before release: Verify product names, finishes, quantities, allowances, and supplier lead times. Approve substitutions in writing.
- Before installation: Confirm that deliveries match the schedule and that installers have the current selections.
- At installation milestones: Review placement, finish coordination, and visible details before the team moves to the next phase.
A laser-level check may verify a physical alignment; a finish walkthrough checks that the installed details still match the approved plan. Both show how small checks support a consistent final result.

Mill Creek’s building process includes design review, finish selections, progress updates, and walkthroughs. At each step, clear conversations help protect the intended look and give owners a direct way to raise questions.
Design support brings choices together.
Mill Creek now offers interior design and decorating services alongside custom home building, spec homes, commercial upfits, consulting, and disaster relief. Margaux and Heather handle the interior design and decorating services.
That support helps clients connect inspiration with a documented selection plan. It also gives owners a partner for comparing finishes, reviewing how choices work together, and keeping the overall vision clear. We bring Quality and Consistency to the process through thoughtful planning and hands-on project management.
The goal stays practical: an elevated coastal look, materials chosen with care, and a finish schedule that reflects the agreed scope. That is how Confidence, Clarity, and Consistency grow from decisions made early through the final walkthrough.
Start with a clear project vision.
If you plan a custom home in Wilmington, Leland, or Southport, or anywhere in our service area from Calabash to Morehead City, begin with the Project Questionnaire, Step 1 of the Mill Creek process. It helps us understand your goals, budget range, timeline, and design vision before the first conversation.
Complete the Project Questionnaire
Visit Mill Creek Development Group
Follow @MillCreekDev
For additional reading, consult the EPA’s moisture-control guidance and the Architectural Woodwork Institute’s Care & Storage standard.
—AJ, President | Mill Creek Development Group
Leave a Reply