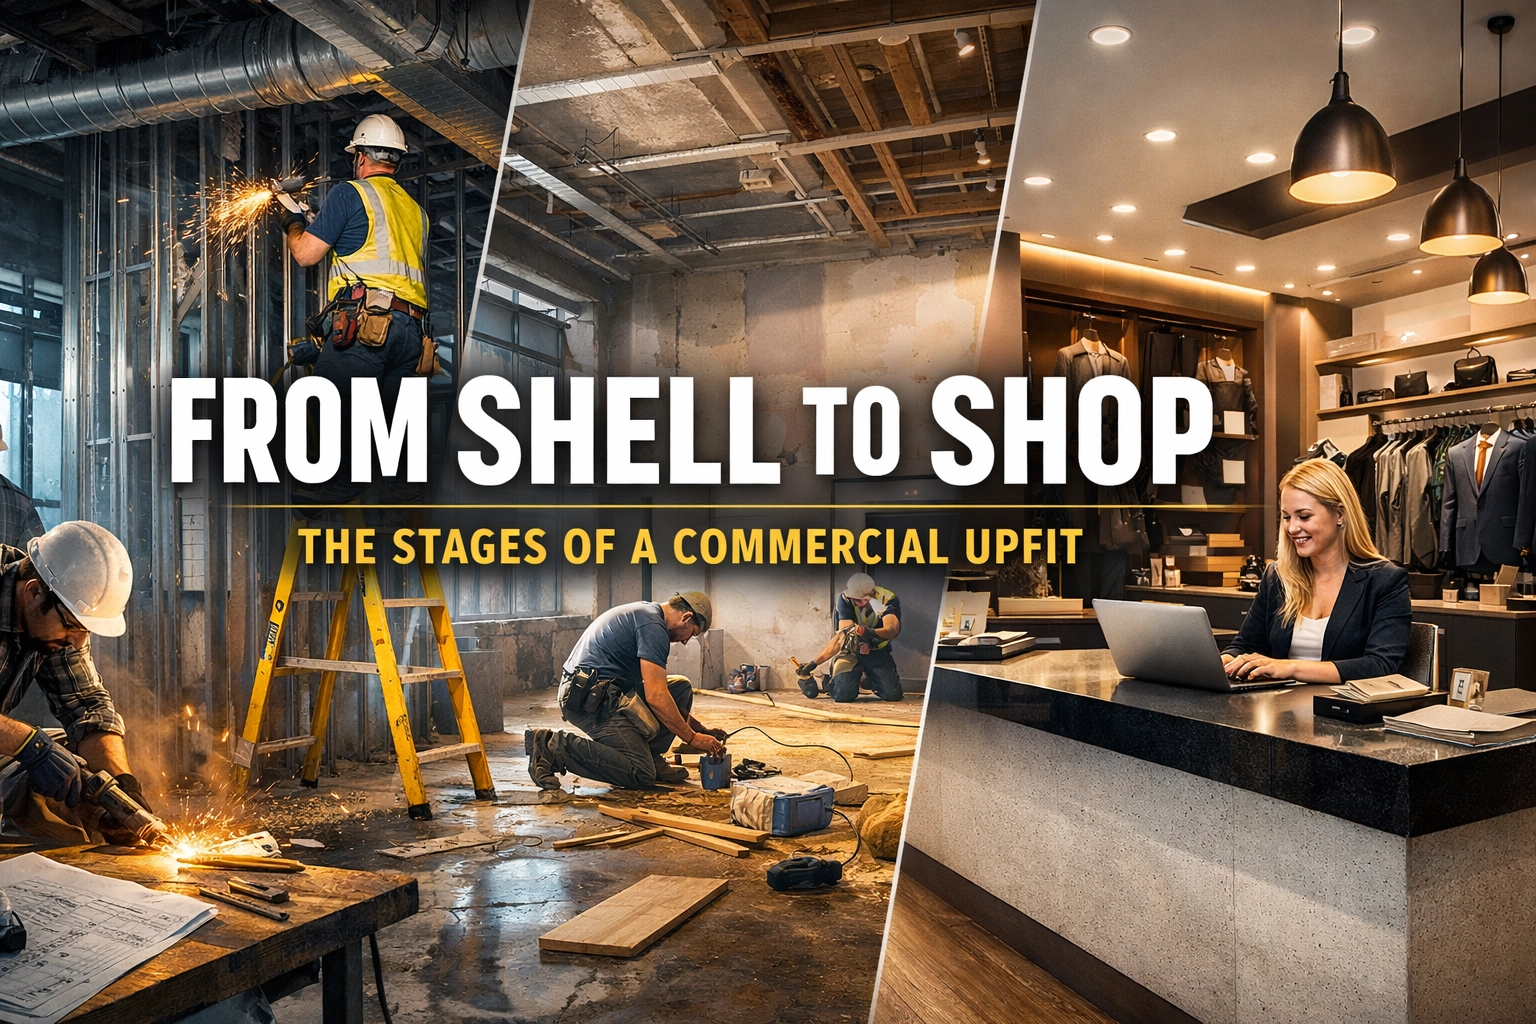
Transforming an empty commercial shell into a functioning business space requires precision, planning, and the right tenant improvement contractor. Whether you're opening a retail storefront, medical office, or restaurant in coastal North Carolina, understanding the upfit process helps you set realistic timelines, budgets, and expectations.
The commercial upfit journey isn't complicated: but it does follow a specific sequence. Each stage builds on the last. Miss a step or rush through planning, and you'll pay for it later in delays, change orders, and frustration.
Here's how we take commercial spaces from concrete and drywall to fully operational businesses.
Stage One: Discovery & Needs Assessment
Every successful upfit starts with questions, not hammers.
Before blueprints or bids, a commercial fit out contractor needs to understand your business. What type of operation are you running? How many employees? What equipment requires special electrical or plumbing? Do you need specialized HVAC for temperature-sensitive inventory? Will customers visit this location?
This discovery phase establishes the foundation for everything that follows. We walk the existing shell space together, discuss your operational workflow, and identify any structural limitations or opportunities. Some shells offer more flexibility than others: and experienced contractors know how to maximize what you're working with.
Budget conversations happen here too. Upfit costs vary wildly depending on finishes, mechanical requirements, and space layout. Establishing realistic expectations now prevents disappointment later.

Stage Two: Design & Space Planning
With your needs documented, the design phase begins.
This is where function meets form. A good tenant improvement contractor doesn't just make spaces look appealing: they optimize workflow, maximize usable square footage, and ensure compliance with building codes and ADA requirements.
Commercial space planning involves detailed layouts showing walls, doors, windows, plumbing fixtures, electrical outlets, lighting plans, and HVAC placement. We coordinate with architects and engineers to create construction documents that contractors can build from and inspectors can approve.
Material selections happen during this stage too. Flooring. Ceiling tiles. Paint colors. Countertops. Fixtures. Every choice impacts both aesthetics and budget. We help clients balance vision with financial reality: steering toward durable, cost-effective solutions that still deliver the look they want.
Design revisions are normal. Expect several rounds of adjustments before finalizing plans. It's far cheaper to move a wall on paper than after it's been framed.
Stage Three: Permits & Approvals
No commercial construction happens without proper permits.
The permit process involves submitting construction documents to local building departments for review. They check plans against building codes, fire safety regulations, zoning requirements, and accessibility standards. This stage requires patience: approval timelines vary by jurisdiction and project complexity.
Experienced commercial fit out contractors handle permit applications and coordinate with inspectors throughout the project. They know local requirements, have established relationships with building officials, and understand how to navigate the approval process efficiently.
Some jurisdictions also require health department approvals for food service operations or special permits for businesses handling hazardous materials. Your contractor should identify these requirements during planning so nothing delays your timeline.
Once permits are issued, construction can begin.
Stage Four: Demolition & Shell Preparation
With permits in hand, the transformation starts.
Most commercial upfits begin with demolition: removing existing walls, ceilings, flooring, or fixtures that don't align with the new design. This "demo" phase clears the space back to its shell condition, exposing structural elements, mechanical systems, and the building envelope.
Demo work reveals hidden conditions. Outdated wiring. Plumbing that needs replacement. Structural issues requiring remediation. Experienced contractors anticipate these discoveries and build contingency into budgets and schedules.
Once the space is cleared, shell preparation begins. This might include repairing concrete floors, addressing moisture issues, or reinforcing structural elements. The goal is creating a clean, solid foundation for the build-out ahead.
Dumpsters, dust, and noise define this stage. It's messy but necessary: and it moves quickly compared to what follows.
Stage Five: Core Construction & MEP Installation
This is where your space starts taking shape.
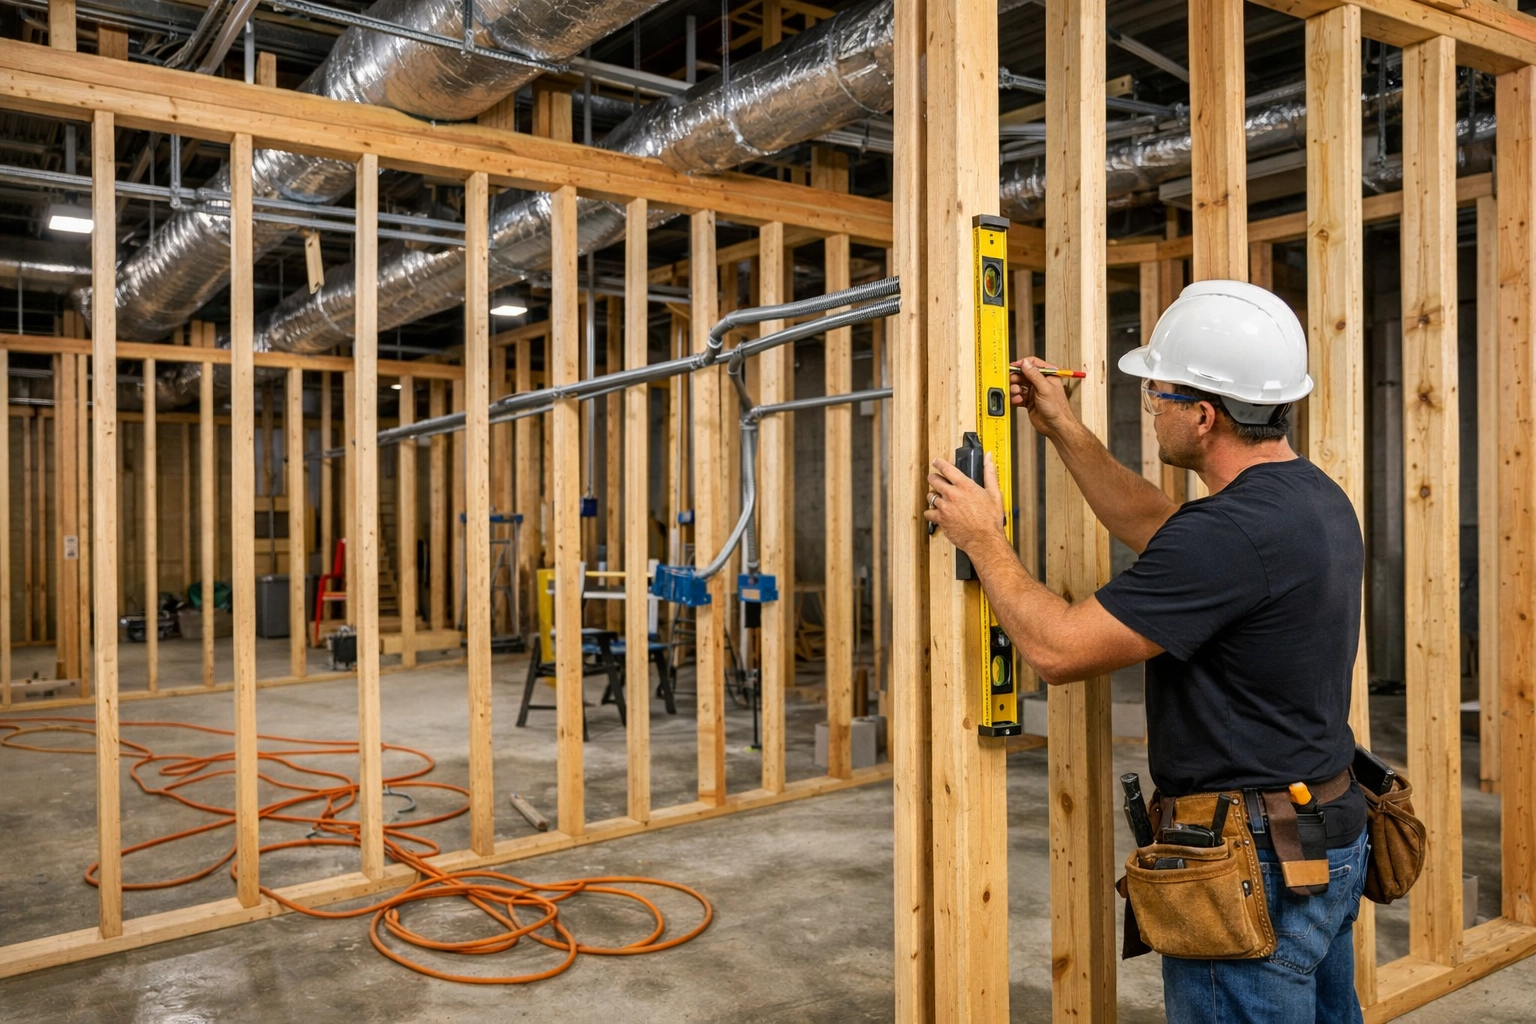
Framing goes up first, defining rooms and circulation paths according to approved plans. New walls establish the layout. Door frames get installed. The skeleton of your future business becomes visible.
Simultaneously, MEP systems: mechanical, electrical, and plumbing: get roughed in. Electricians run conduit and wiring for outlets, switches, and lighting. HVAC contractors install ductwork and equipment. Plumbers rough in water supply and drainage lines.
This phase requires careful coordination among multiple trades. The electrician needs to know where the HVAC guy is running ducts. The plumber needs access before the walls close up. A skilled tenant improvement contractor orchestrates this dance, ensuring trades work efficiently without stepping on each other.
Building inspectors visit during this stage to verify rough-in work meets code before walls and ceilings cover it up. These inspections are critical: failing means opening walls back up to make corrections.
Stage Six: Finishes & Details
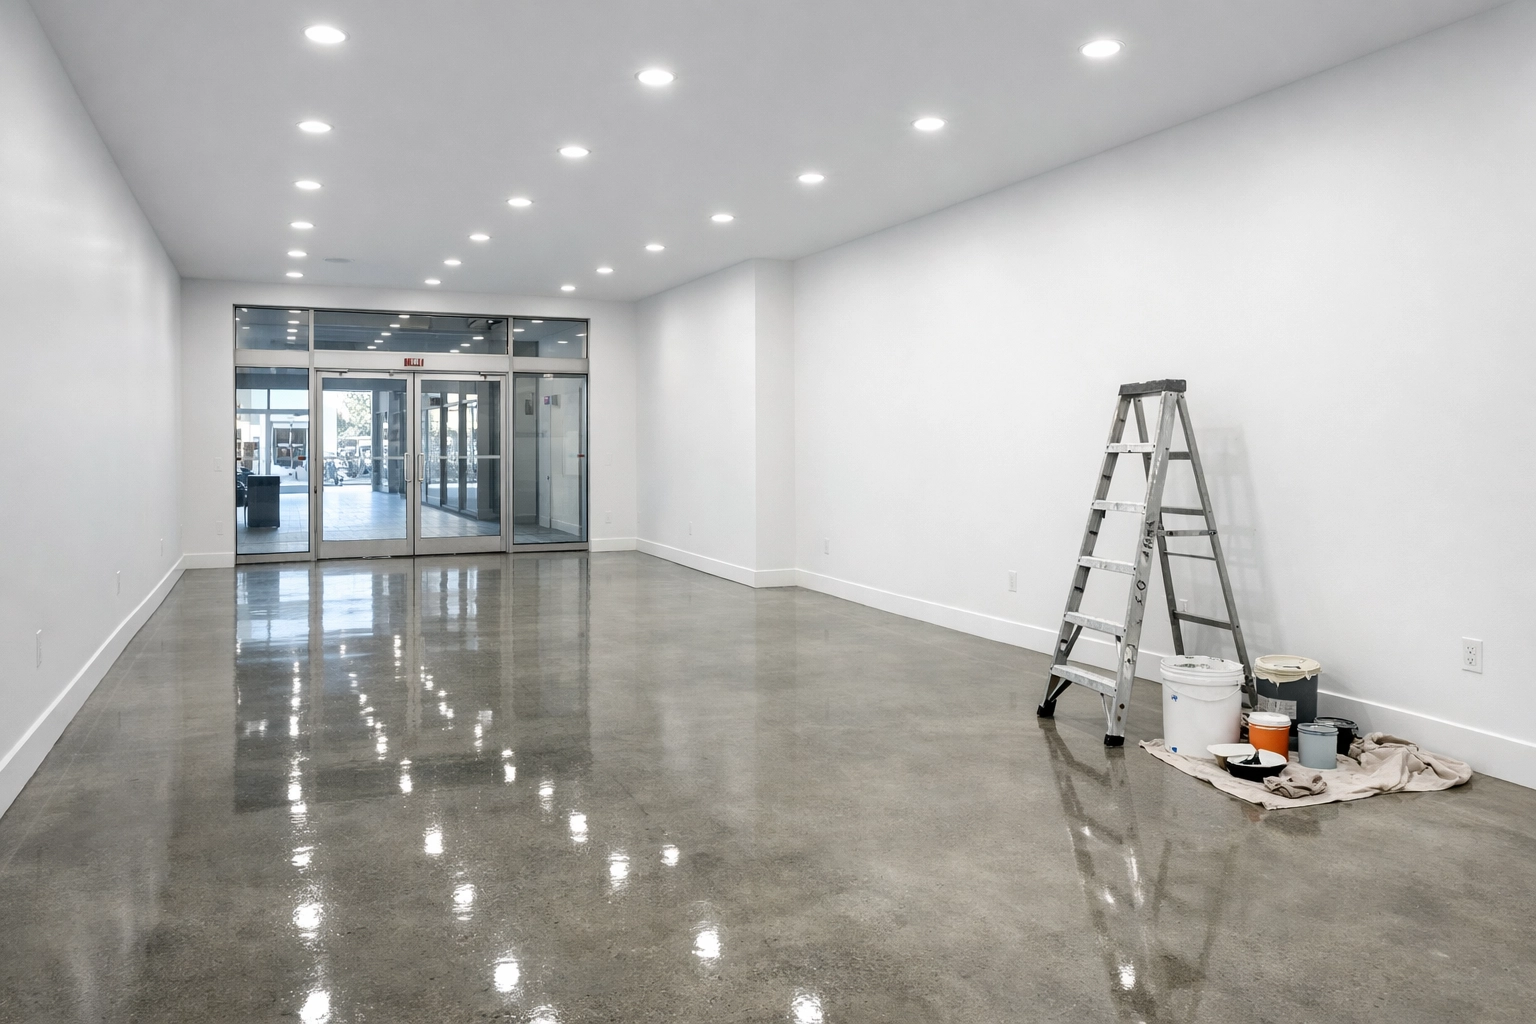
With mechanical systems approved and walls closed, finish work begins.
Drywall gets hung, taped, and finished smooth. Painters apply primer and final coats. Flooring goes down: whether tile, vinyl, hardwood, or carpet. Ceilings get installed with lighting fixtures in place.
Trim work happens next. Baseboards. Door casings. Crown molding if specified. Cabinets and millwork get installed in kitchens, bathrooms, or reception areas. Countertops follow, along with plumbing fixtures and hardware.
This stage transforms the space from construction site to recognizable business environment. It's also where craftsmanship becomes visible. Poor drywall finishing shows in the paint. Sloppy tile work stands out. Misaligned cabinets announce themselves.
Quality commercial fit out contractors sweat the details. Tight joints. Clean caulk lines. Properly aligned fixtures. These finishing touches separate professional upfits from amateur work.
Stage Seven: Final Systems & Testing
Before you move in, everything gets tested and commissioned.
HVAC systems run through full operational tests. Does heating work? Does cooling reach setpoint? Is airflow balanced throughout the space? Electrical systems get energized and tested. Do all outlets work? Do light switches control the right fixtures? Is the electrical panel properly labeled?
Plumbing fixtures get tested for leaks. Fire suppression and alarm systems undergo inspection and certification. Emergency lighting and exit signs get verified.
This commissioning process ensures all building systems function as designed before the space opens for business. It's also when final punch list items get identified: small deficiencies or incomplete work that needs addressing before project closeout.

Stage Eight: Final Inspection & Certificate of Occupancy
The final milestone is obtaining your Certificate of Occupancy.
Building inspectors conduct a comprehensive final inspection, verifying the completed upfit matches approved plans and meets all applicable codes. This inspection covers everything from egress requirements to accessibility compliance to mechanical system performance.
Once the inspector signs off, the jurisdiction issues a Certificate of Occupancy: your legal authorization to conduct business in the space. Without this document, you cannot legally open.
Experienced contractors schedule final inspections strategically, ensuring all work is complete and all previous inspection corrections are resolved. Failed final inspections delay openings and cost money.
Choosing Your Commercial Upfit Partner
The right tenant improvement contractor makes this process smooth. The wrong one turns it into a nightmare.
Look for contractors with documented commercial experience in your building type. Ask for references from similar projects. Verify licensing, insurance, and bonding. Discuss communication expectations and project management approach.
Commercial upfits involve coordination, problem-solving, and attention to detail. You need a partner who understands building codes, manages trades effectively, and keeps projects on schedule and budget.
At Mill Creek Development Group, we bring veteran-owned precision and local expertise to commercial projects throughout Eastern North Carolina. We've transformed shells into medical offices, retail spaces, and professional environments: always delivering quality craftsmanship and transparent communication.
Ready to discuss your commercial upfit? Start with our Project Questionnaire or learn more about our process.
Your business deserves a space that works as hard as you do.
: AJ, President | Mill Creek Development Group
Leave a Reply